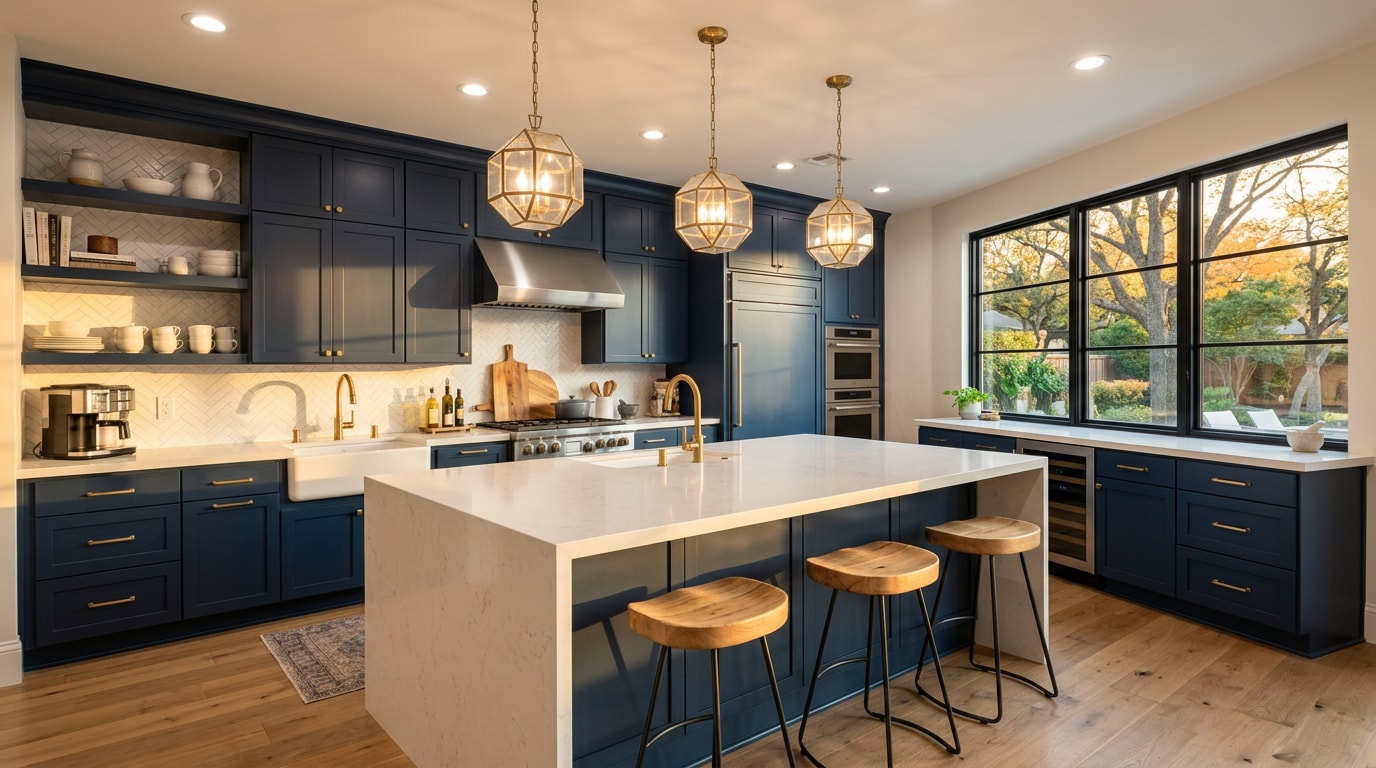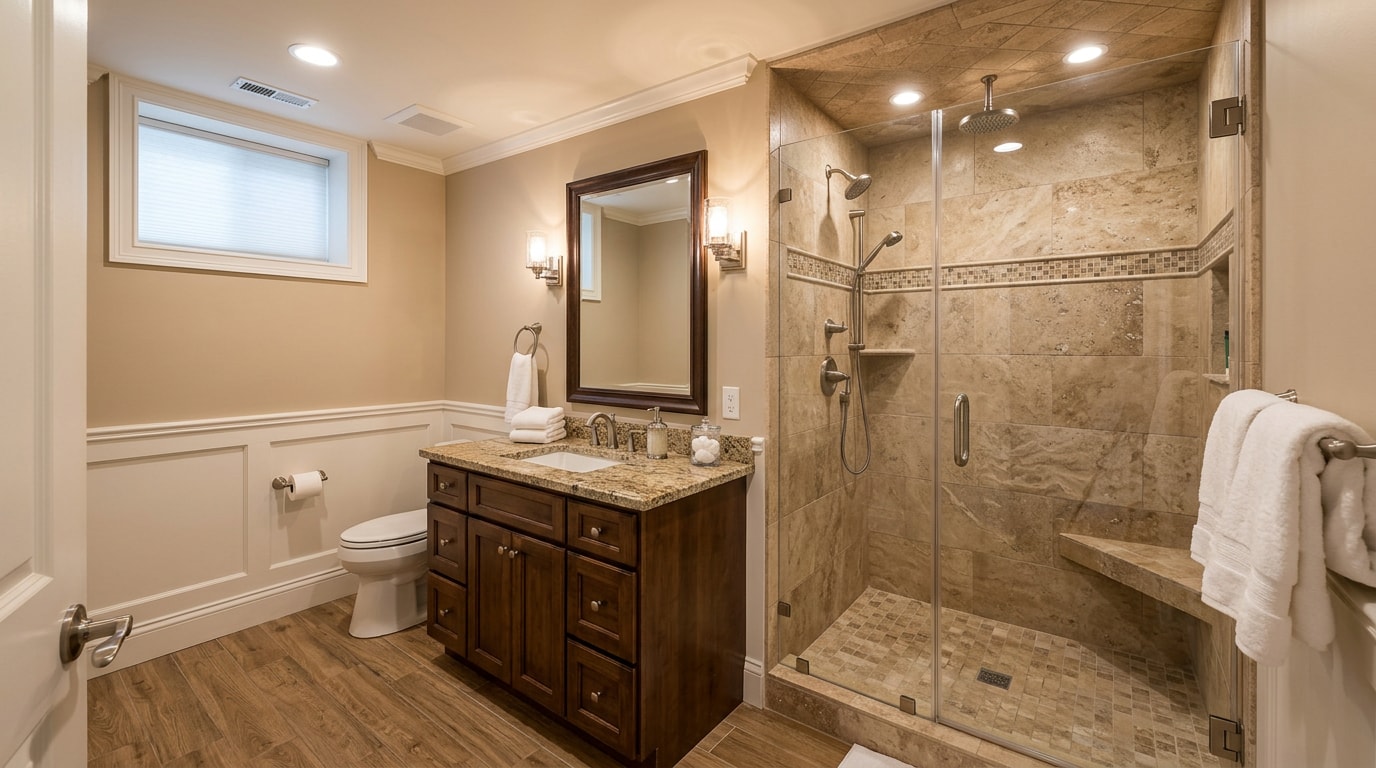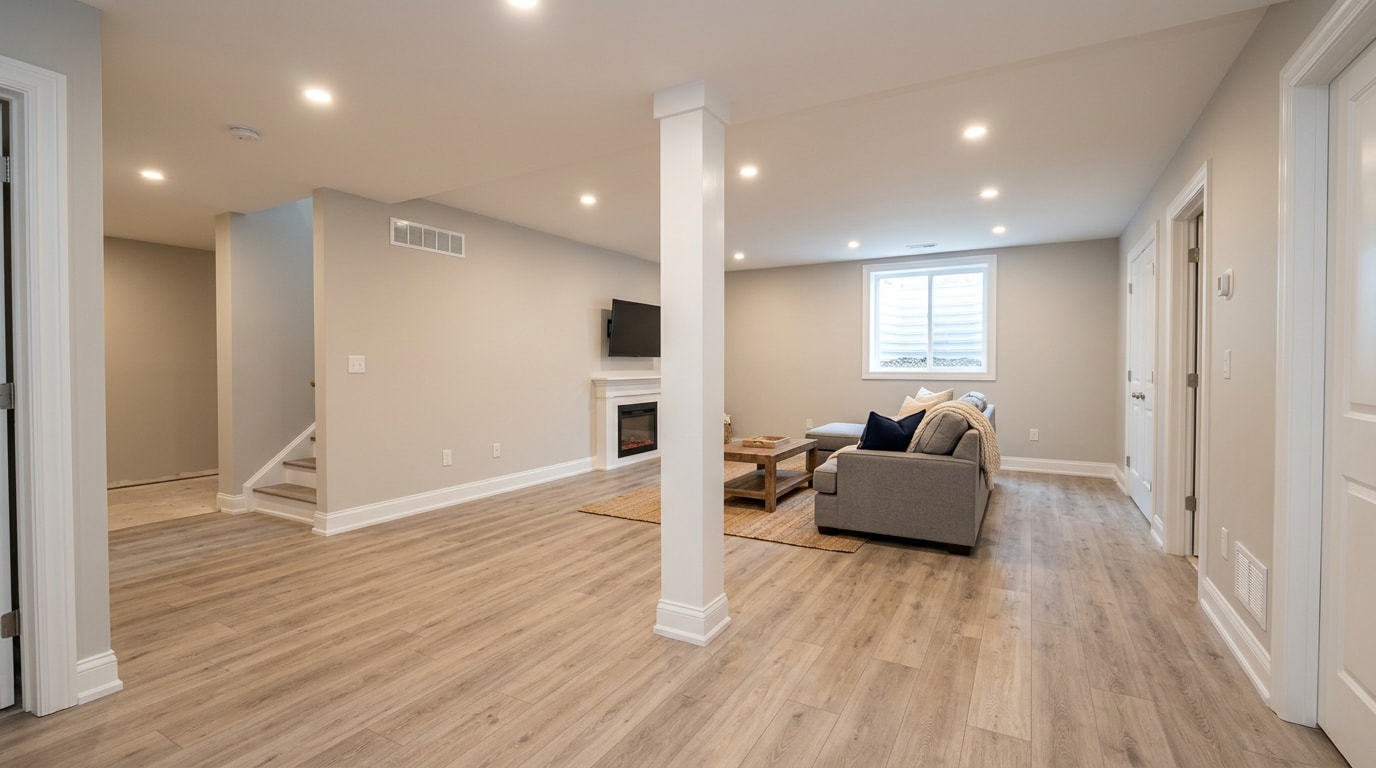
DIY basement finishing in University Park, TX can turn unused square footage into a real living space for a fraction of a full contractor bid. But below-grade construction plays by different rules than an upstairs remodel: permits, moisture control, and code minimums all come into play before you frame a single wall. This guide walks through every phase in order, from the first floor plan sketch to flooring day, so you know exactly what to DIY and where to call a licensed pro.
Planning Your DIY Basement Finishing Project: Layout, Design & Permits
Before any tools come out, sketch your basement's footprint on graph paper or a free floor-plan app. Mark fixed obstacles you can't move: support columns, the furnace, water heater, sump pit, and window locations.
From there, rough in where you want walls, a doorway, and any future bathroom or wet bar plumbing. This layout becomes your reference point for framing and rough-in work later, so show every obstruction to scale rather than guessing.
Once the layout feels workable, check your local building codes before buying a single stud. Most municipalities in the Dallas-Fort Worth area, including University Park, require permits anytime you add electrical circuits, plumbing, or habitable square footage. Inspectors typically check the work at multiple stages, not just at the end.
Permit fees vary by scope and municipality, but they're a small price next to the fines or forced teardown that come with unpermitted work discovered during a home sale or insurance claim. If the planning and permitting stage already feels like more than you want to manage solo, get a free estimate and we'll walk through what's realistic for your layout before you buy materials.
The Habitable Space Threshold (Ceiling Height & Egress Basics)
Most building codes require a minimum finished ceiling height of 7 feet for a basement to count as habitable space. Some jurisdictions allow a grandfathered exception down to 6 feet 8 inches under beams, ducts, or pipes in older homes. Egress requirements also apply if you're creating a bedroom, meaning a code-compliant window or door large enough for emergency escape.
Here's the part most guides skip. Say your joists currently sit at 7 feet 10 inches. After a 5/8-inch drywall ceiling, furring strips, and a floating floor with underlayment, you can lose 3 to 4 inches total, putting you right at the edge of the minimum. Measure your actual drop budget before you insulate or frame anything, not after. The International Residential Code sets the minimum ceiling height for habitable space and portions of basements containing habitable space at not less than 7 feet , with a narrower allowance at beams and ducts. You can review the current IRC ceiling height requirements that your local building department will reference during plan review.
Assess Your Basement's Condition & Test for Moisture
Basements sit below grade, so unresolved water or air-quality issues don't go away once you cover them with drywall. They get worse, hidden where you can't see them. Skipping this step is the single most common reason DIY basement projects fail years later.
Walk the space and look for:
- Water stains or peeling paint
- White, chalky mineral deposits (efflorescence)
- Musty odors
- Visible cracks in foundation walls or the floor
Any of these point to a moisture problem that needs addressing before finishing begins, not after.
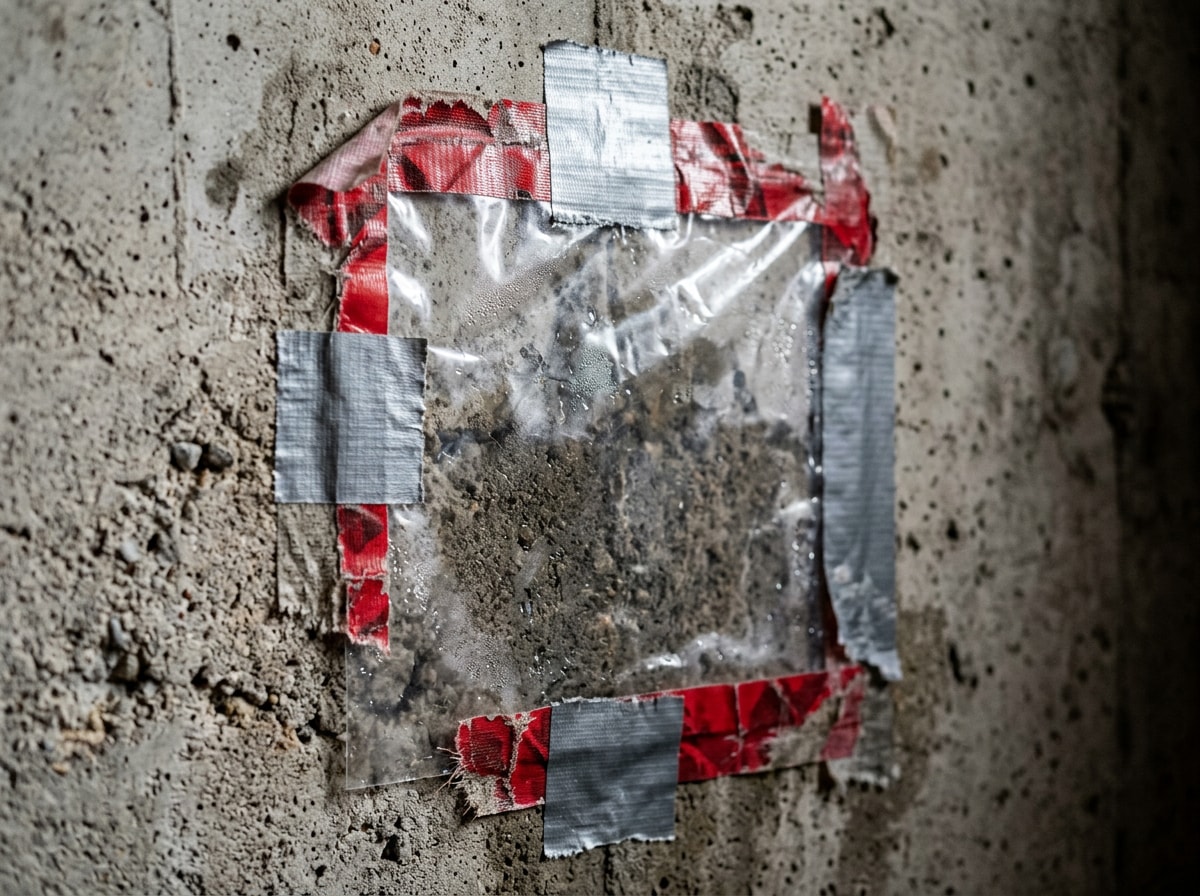
Run a simple test: tape a 2-foot square of plastic sheeting to a suspect wall or the floor and leave it for 24 to 48 hours. Condensation on the room-facing side signals interior humidity you can likely manage with dehumidification. Moisture on the wall-facing side means water is migrating through the foundation itself, which calls for waterproofing before finishing, not after studs go up.
Radon Testing and Mitigation
Radon is a colorless, odorless gas produced by soil decay that can seep into basements through foundation cracks and accumulate to unsafe levels. A basement radon testing kit, either a short-term charcoal canister or a longer-term alpha-track device, measures concentration in picocuries per liter (pCi/L) over several days.
The EPA has established an action level of 4 pCi/L, above which mitigation is strongly recommended , and it also recommends considering mitigation for levels between 2 and 4 pCi/L , particularly for households that will spend years in the home. A mitigation system typically means a sub-slab vent pipe routed through the roof with a continuous fan. Finishing over elevated radon without mitigating first traps the gas against lower basement air quality for anyone who uses the room. Read the EPA's current radon action-level guidance for testing protocols and next steps.
Tools & Materials Checklist for DIY Basement Finishing
A basic tools list includes:
- Hammer drill for anchoring into concrete
- Chalk line for marking wall layouts
- 4-foot level
- Utility knife
- Drywall screw gun
- Framing nailer or hammer
- Safety glasses and a dust mask for concrete dust and insulation fibers
On the materials side, you'll need pressure-treated lumber for any bottom plate touching concrete, standard 2x4 studs for the rest of the frame, rigid foam board or batt insulation, moisture-resistant drywall, joint compound, and flooring underlayment. These materials differ from an above-grade remodel mainly in the moisture-resistant specifics: "green board" or paperless drywall on exterior walls, and foam sill sealer under any plate resting on concrete.
If your basement plan includes a wet bar, the stone and cabinetry side of the project is where we come in. We've fabricated countertops and installed cabinetry for enough basement wet bars across Dallas-Fort Worth to know the framing has to be dead-level before a slab of quartz or granite ever gets set. Our custom cabinet installation and stone countertop fabrication teams can template and install once your framing and rough-in are inspected and closed up.
Insulate & Seal the Basement
Clear and clean the space first, then seal any visible cracks in walls or floor with hydraulic cement or masonry sealant before insulation goes in. A continuous vapor barrier comes next, typically 6-mil polyethylene sheeting lapped and taped at the seams against the foundation wall.
Basement wall insulation usually combines two materials: rigid foam board adhered directly to the concrete (it resists moisture better than batts touching foundation walls) and fiberglass batts inside the stud cavities once framing is up. Don't skip rim joist insulation at the top of the foundation wall. It's a major source of heat loss and a common spot for condensation if left bare.
Target R-value varies by climate zone, so check current recommendations before buying. ENERGY STAR publishes a table showing what levels of insulation are cost-effective for different climates and locations in the home , which will tell you whether your zone calls for a thicker wall assembly than you'd assumed. Check the ENERGY STAR R-value recommendations before buying insulation.
Rough-In: Electrical, Plumbing & HVAC Before You Close the Walls
Rough-in work has to happen before insulation and drywall go up, because inspectors need to see wiring, pipes, and ductwork before anything gets covered. This stage covers electrical (outlet and switch layout, circuit runs to the panel), plumbing for any future bathroom or wet bar, and HVAC extension work to bring supply and return ductwork into the new space.
Here's the honest caveat. Electrical and plumbing rough-in are the two tasks where most inspectors, and plenty of experienced DIYers, recommend hiring a licensed trade, even on an otherwise fully DIY basement. Mistakes here aren't just inconvenient. They're fire and flooding risks, and they're exactly what inspectors check first.
If your plan includes a basement bathroom, our bathroom remodeling team can scope the plumbing rough-in alongside licensed trades, then handle vanity, tile, and countertop installation once the walls close. The purpose of the NEC is to safeguard people and property from hazards that may arise from the use of electricity, and people who utilize it should be qualified to do so . For a plain-English overview of what that means for homeowners, see NFPA's guide to the National Electrical Code.
Frame the Basement Walls
This is the step that makes the basement start to look like a real house. Mark wall lines on the floor and ceiling with a chalk line, build each wall frame flat on the floor, then stand it up and secure the bottom plate to the concrete slab using a hammer drill and concrete fasteners.
Studs are typically spaced 16 inches on center, and any plate touching concrete should be pressure-treated lumber to resist moisture wicking. Frame around doors, windows, and mechanical obstructions as you go, leaving service access where panels or shutoffs need to stay reachable.
There are two approaches homeowners choose between:
- Fastened bottom plate: Anchors directly and rigidly to the slab. Simpler to build, and fine in basements with minimal slab movement.
- Floating wall: Leaves a small gap between the stud bottoms and the plate, suited to basements where the concrete slab shifts seasonally.
Fireblocking at the floor-to-ceiling transition matters in either case. It's a life-safety code requirement, not an optional detail.
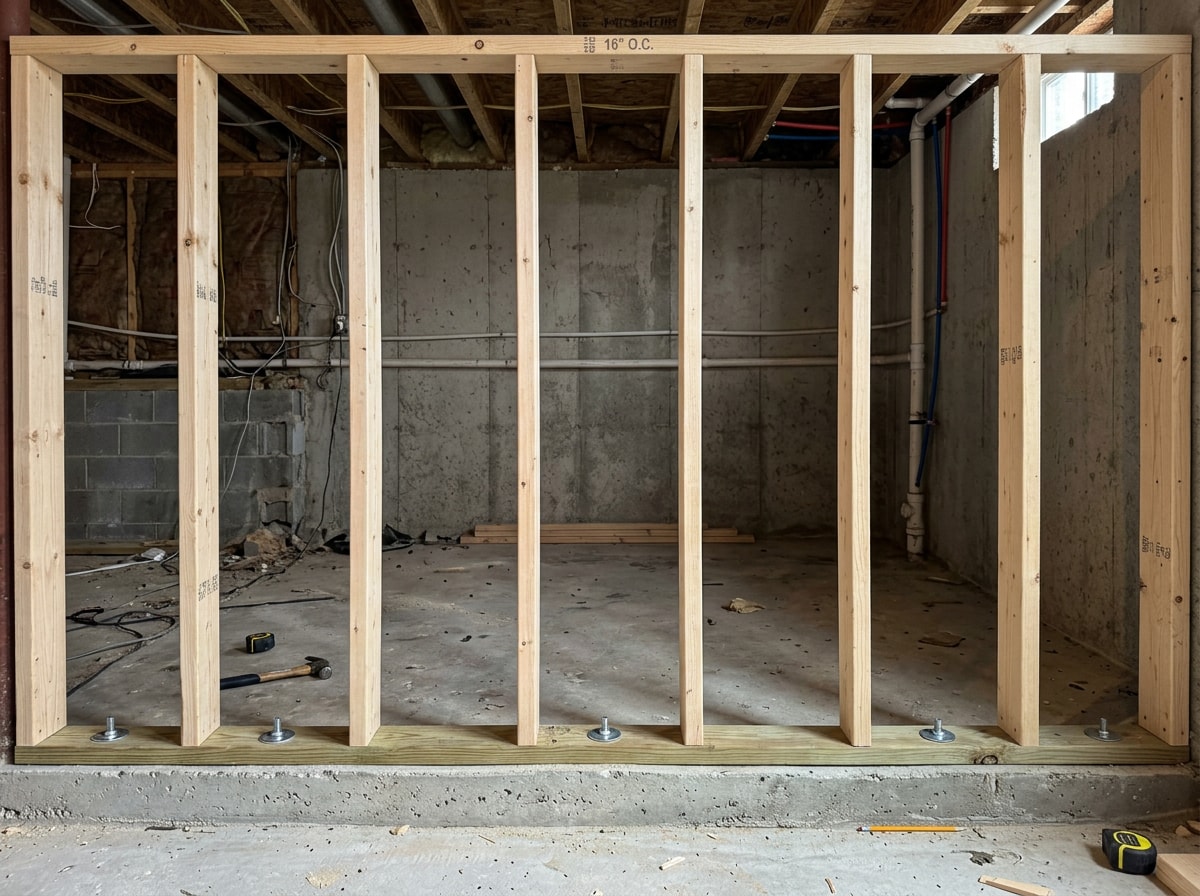
Floating Walls: Solving the Slab Gap
A floating basement wall secures the pressure-treated bottom plate to the floor as usual, but leaves a small gap, often an inch or so, between the bottom of the wall studs and that plate. Long spike nails driven at an angle through the studs into the plate allow the wall to flex slightly rather than crack or bow when the slab moves.
This detail exists because concrete slabs expand, contract, and occasionally heave slightly with seasonal moisture and temperature changes. A rigidly fastened wall has nowhere to go when that happens. Check with your local building department for the fireblocking and framing specifics that apply to your permit.
Install Drywall
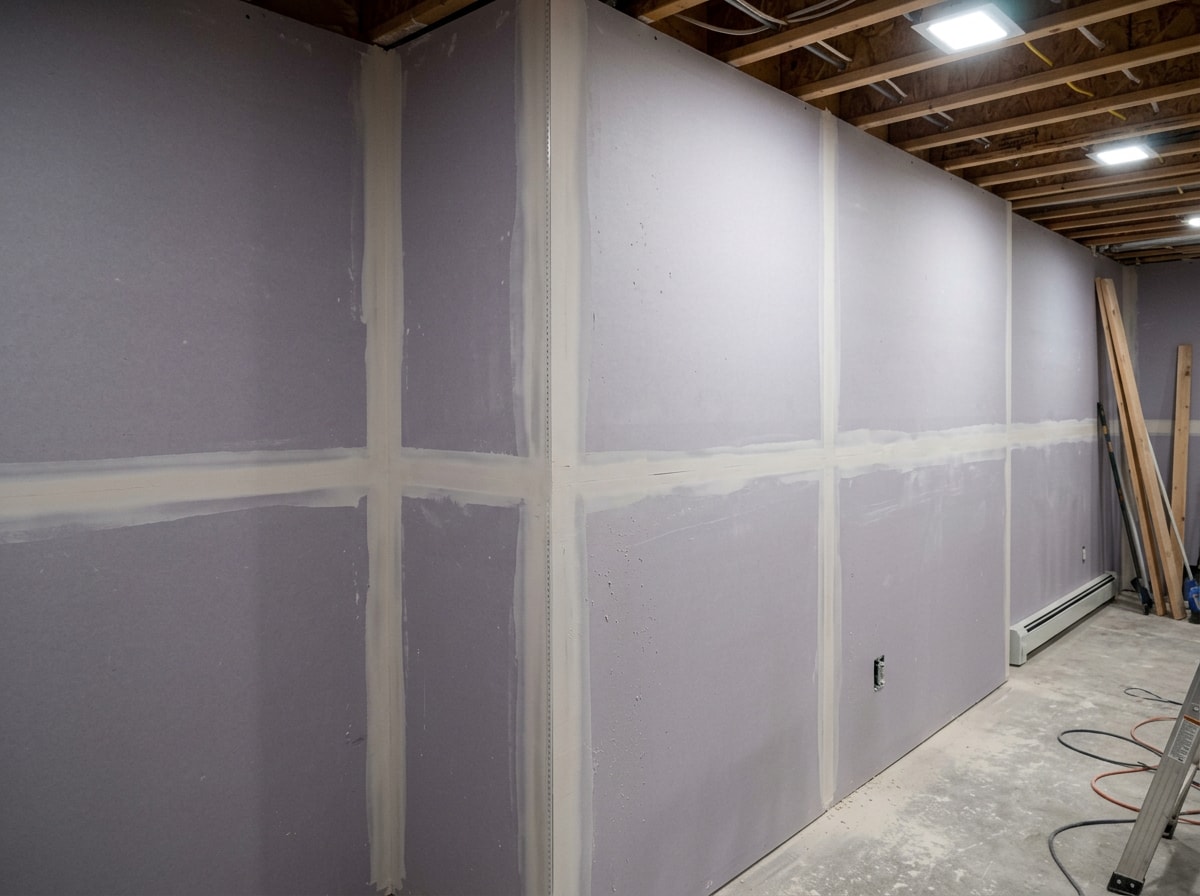
Measure and cut panels to fit, and follow the sequence most pros use: ceiling first, then walls, since ceiling seams are easier to finish before wall panels are in the way. Use moisture-resistant drywall on any wall that sits against the foundation or in a space with higher humidity potential, even if the rest of the basement uses standard panels.
Drywall installation follows standard tape-mud-sand technique. Apply joint tape over seams, cover with compound, let dry, sand smooth, and repeat with thinner coats until seams disappear. Budget more time for sanding than you expect. Rushing this step is the most common reason DIY drywall looks obviously different from a professional job.
Once walls are primed, wrap any exposed support columns in matching drywall or trim for a finished look, and caulk baseboard gaps before painting.
Flooring & Ceiling Options for a Finished Basement
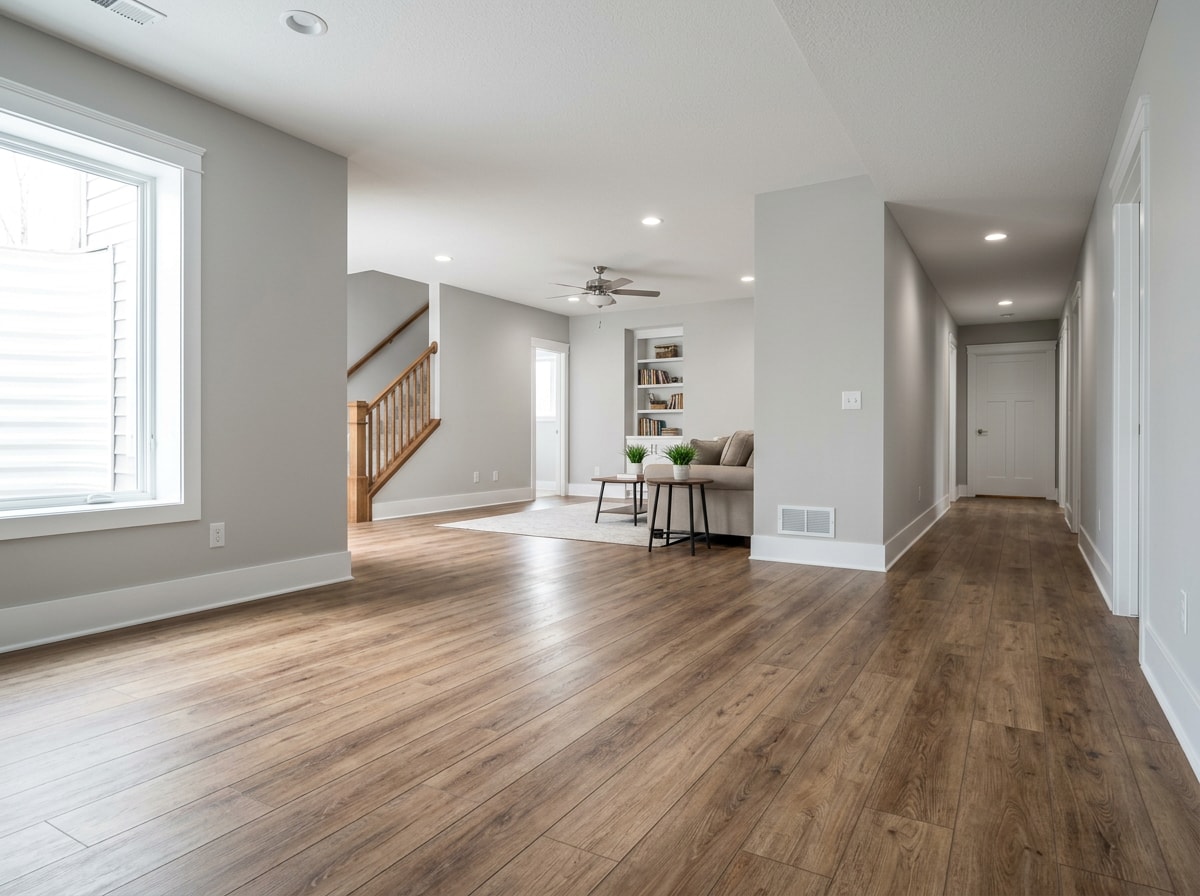
Before any flooring goes down, check the slab for low spots and fill them with self-leveling compound. Uneven concrete telegraphs through most flooring types and causes long-term wear issues. Once the slab is flat, your main flooring options are luxury vinyl plank (click-lock LVP), tile over a decoupling membrane, or carpet in areas away from potential water sources.
Luxury vinyl plank has become the default choice for good reason: individual planks can be lifted, dried, and reinstalled after a minor water event, which isn't true of carpet or solid hardwood. Tile works well in bathroom or wet-bar zones but needs the membrane layer to handle any residual slab moisture. If you're tiling a basement bathroom floor, our bathroom tile installation crew can set the membrane and tile once your framing and waterproofing pass inspection.
For the ceiling, you're choosing between a drop ceiling, a drywall ceiling, or simply painting exposed joists for an industrial look. A drop ceiling keeps plumbing, wiring, and ductwork accessible behind removable tiles, genuinely useful where future repairs are likely. A drywall ceiling looks more finished and adds a few inches of height in some cases, but hides everything behind it permanently.
Cost to Finish a Basement: DIY vs. Professional
Cost is the biggest reason homeowners consider DIY in the first place, but savings vary by category. Some tasks cost a fraction of professional rates to DIY, while others carry real risk of costly rework if done wrong. The table below is a rough guideline, not a quote, for a typical 700-800 square foot basement.
| Category | DIY (materials only) | Full Professional |
|---|---|---|
| Waterproofing & prep | $500–$1,500 | $2,000–$6,000 |
| Framing | $800–$1,800 | $2,500–$4,500 |
| Insulation | $600–$1,400 | $1,800–$3,200 |
| Drywall | $700–$1,500 | $2,200–$4,000 |
| Ceiling | $400–$1,200 | $1,500–$3,500 |
| Flooring | $1,000–$2,500 | $2,500–$5,500 |
| Permits | $300–$1,500 | Often included |
Actual pricing depends on basement size, local labor rates, and material choices. If you're also pricing out a bathroom addition as part of the project, our DIY bathroom remodel cost guide for Southlake, TX breaks down the same DIY-versus-pro math for a smaller, bathroom-specific scope.
Tasks to Hire a Licensed Professional For
Even committed DIYers generally hand off a handful of tasks regardless of how much of the rest they handle themselves:
- Electrical wiring
- Plumbing and sewage ejector work
- HVAC ductwork or mini-split installation
- Structural framing modifications
- Cutting a new egress window
- Waterproofing systems
The reasoning is consistent across these tasks: mistakes create safety hazards, fail inspection, or cause expensive water and structural damage that costs more to fix than the original hire-out would have. Knowing when to hand off a task isn't a failure of DIY ambition. It's what separates a project that passes inspection from one that gets flagged and has to be redone. If you'd rather get a second opinion before you commit to a full DIY scope, get a free estimate and we'll tell you straight which parts of your plan are DIY-friendly.
For homeowners researching the kitchen and bath side of a larger remodel alongside the basement, our homepage has examples of finished countertop, cabinet, and tile work across the DFW metro.
FAQ
In What Order Should I Finish My Basement?
The standard sequence starts with structural work (framing and drywall), followed by utilities like electrical, plumbing, and HVAC rough-in, and finishes last with flooring, trim, and fixtures. This order matters because later trades need access through open stud bays before walls close them off.
What Flooring Is Best for a Finished Basement?
Luxury vinyl plank is generally the best choice because individual planks can be lifted, dried, and reinstalled after water exposure, unlike carpet on concrete or solid hardwood. Waterproof flooring matters below grade specifically because minor water events are more common there than on upper floors.
Is It Cheaper to Finish a Basement Yourself?
DIY basement finishing is generally cheaper on materials and labor. But hidden costs, tool purchases, longer timelines, mistakes requiring rework, and the near-universal need to hire out electrical and plumbing, mean the savings from going fully DIY are rarely as large as homeowners initially expect.
Do You Need a Permit to Finish a Basement in Texas?
Yes, in nearly all cases. Any work that adds electrical circuits, plumbing, or habitable square footage typically requires a permit from your local building department, and inspectors check the work at multiple stages before it's covered up.
How Long Does a DIY Basement Finishing Project Take?
Most DIY basements take 2 to 4 months from permit approval to finished flooring, working evenings and weekends. Projects that include a full bathroom or wet bar typically run longer because of inspection wait times between rough-in and closing the walls.
Solid Stone In Granite, Inc. is a licensed contractor based in Denton, TX, serving the Dallas-Fort Worth metro, including University Park. This guide was written from our team's hands-on experience fabricating and installing stone surfaces for basement wet bars and bathrooms, alongside the kitchen and bath remodeling work we do every week. If you want a second set of eyes on your basement plan before you buy materials, contact us for a free estimate.